When I first started making wax sachets, I thought it would be as simple as melting wax, adding fragrance, and pouring it into a mould. But over the years, I’ve learned that a few small mistakes can make a big difference in how your sachets look, feel, and smell.

If you’ve ever felt disappointed with a DIY wax sachet that didn’t hold its fragrance, cracked, or just looked messy, don’t worry—you’re not alone. In this post, I’ll walk you through the most common wax sachet making mistakes, along with practical DIY tips for wax sachets to help you get it right.
Mistake #1: Using the Wrong Wax
The wax you choose sets the foundation for your sachet. Many beginners use leftover candle wax or paraffin because it’s cheap and easy to find. The problem is, these waxes don’t hold fragrance well and often leave a rough finish.
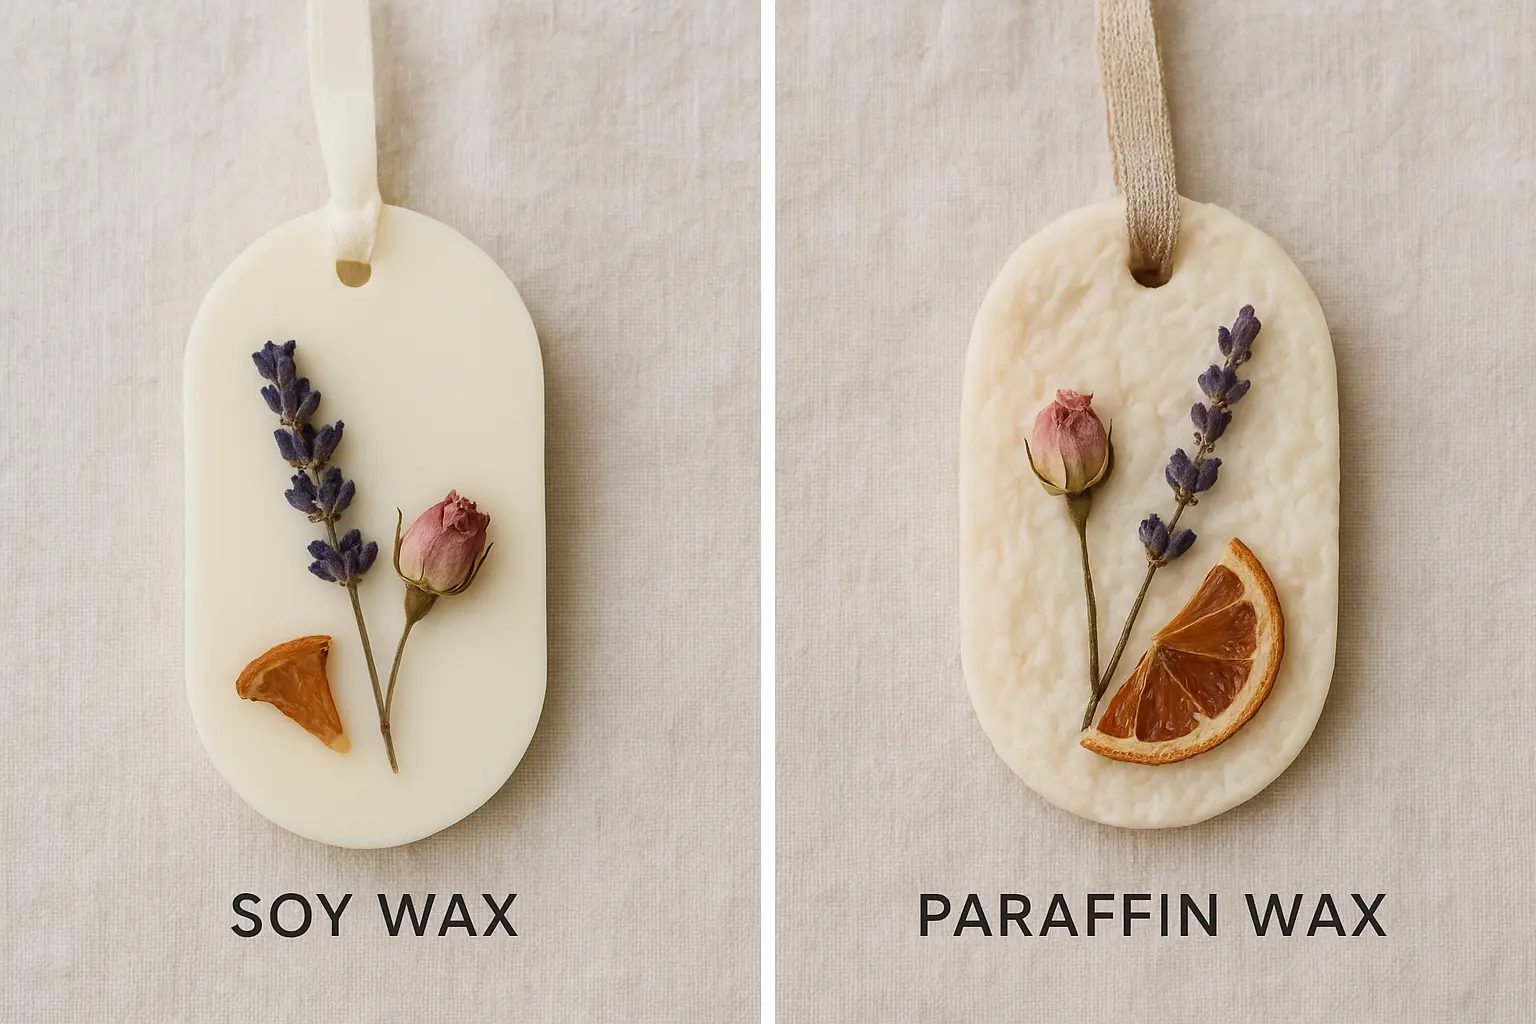
How to fix it: I recommend using soy wax. It’s eco-friendly, smooth, and locks in fragrance beautifully. At Candle Kin, I only use soy wax for sachets and candles because it gives consistent, long-lasting results. If you’re new, start with small test batches—you’ll quickly see the difference.
Mistake #2: Adding Too Much or Too Little Fragrance
It’s tempting to pour in extra fragrance oil, hoping for a stronger scent. But too much oil can make your wax greasy and even affect how it sets. Too little, on the other hand, leaves your sachet almost scentless.
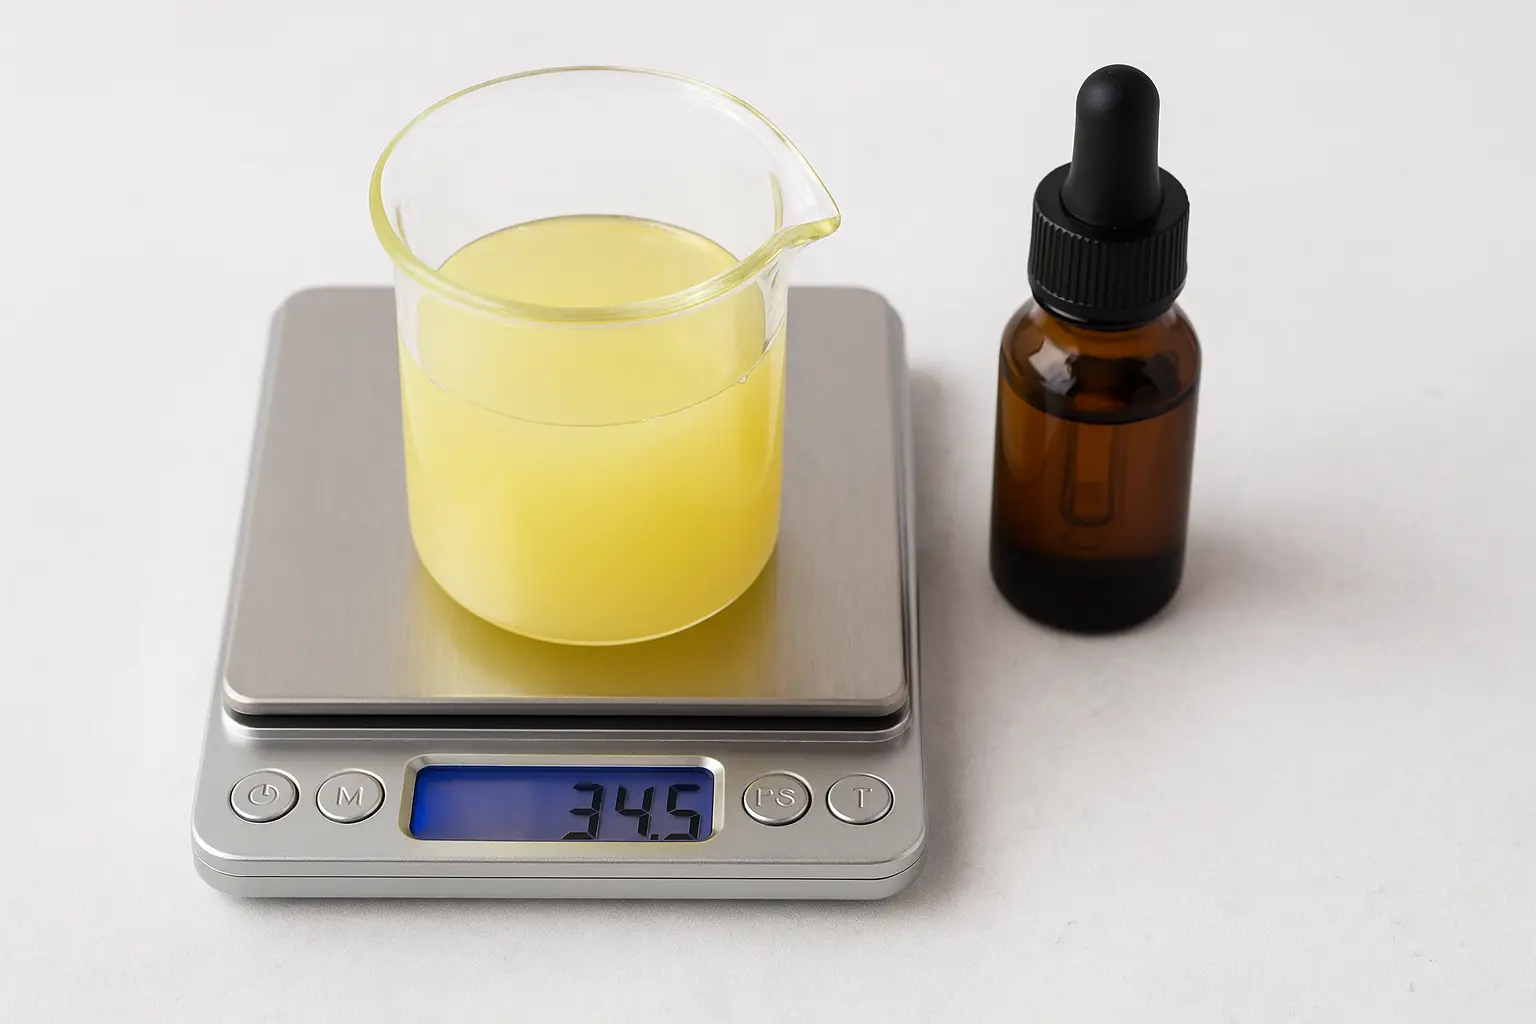
How to fix it: Aim for about 6–8% fragrance load for soy wax. That means if you’re using 100 grams of wax, add 6–8 grams of fragrance oil. Essential oils can also be used, but not all of them survive heat—some fade quickly. To get the best scent, add fragrance when the wax is warm but not too hot (around 65–70°C for soy). Start light and adjust—your nose will guide you. To make this easier you can use my fragrance load calculator. Just enter your wax weight, and it will tell you the exact amount of fragrance to add.
Mistake #3: Rushing the Cooling & Setting Process
Patience isn’t easy when you’re excited to see the final result, but rushing the cooling process is a recipe for disappointment. Popping your sachets out too soon, or placing them in the fridge, can cause cracks, uneven texture, or poor fragrance lock.
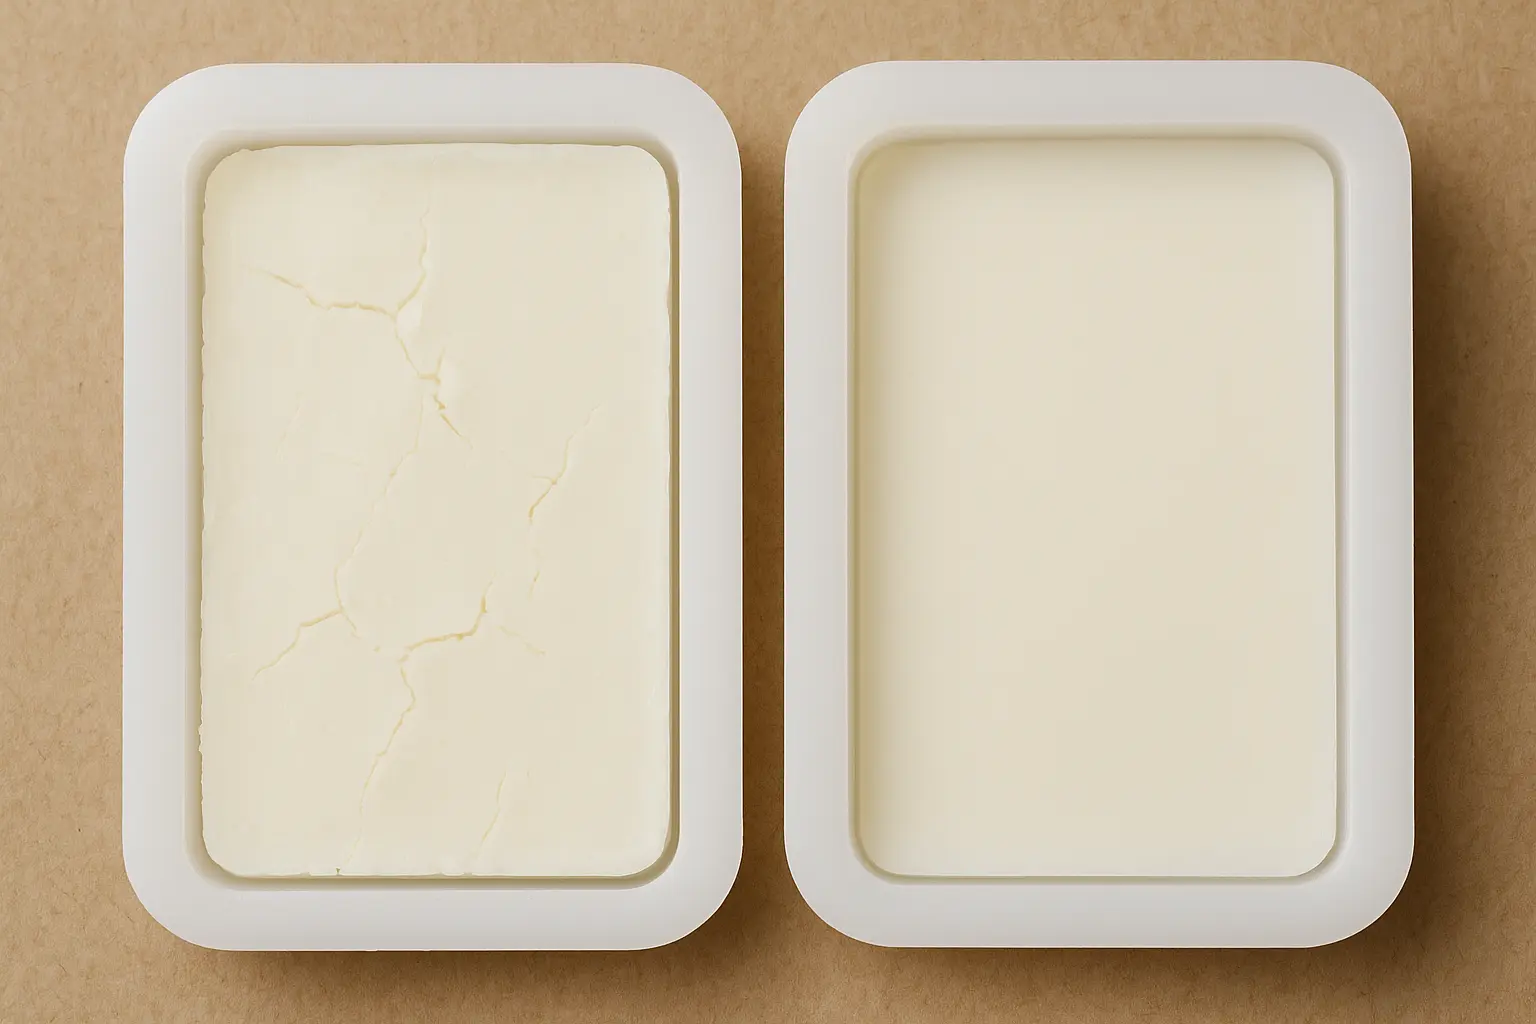
How to fix it: Allow your wax sachets to cool slowly at room temperature. It usually takes a couple of hours, depending on the size and weather. Think of it as letting your craft “breathe” before it’s ready to shine.
Mistake #4: Skipping Proper Decoration Placement
Botanicals, dried flowers, or herbs make wax sachets beautiful, but they don’t always stay where you want them. If you drop them into hot liquid wax, they often sink or shift out of place, leaving the sachet looking cluttered.
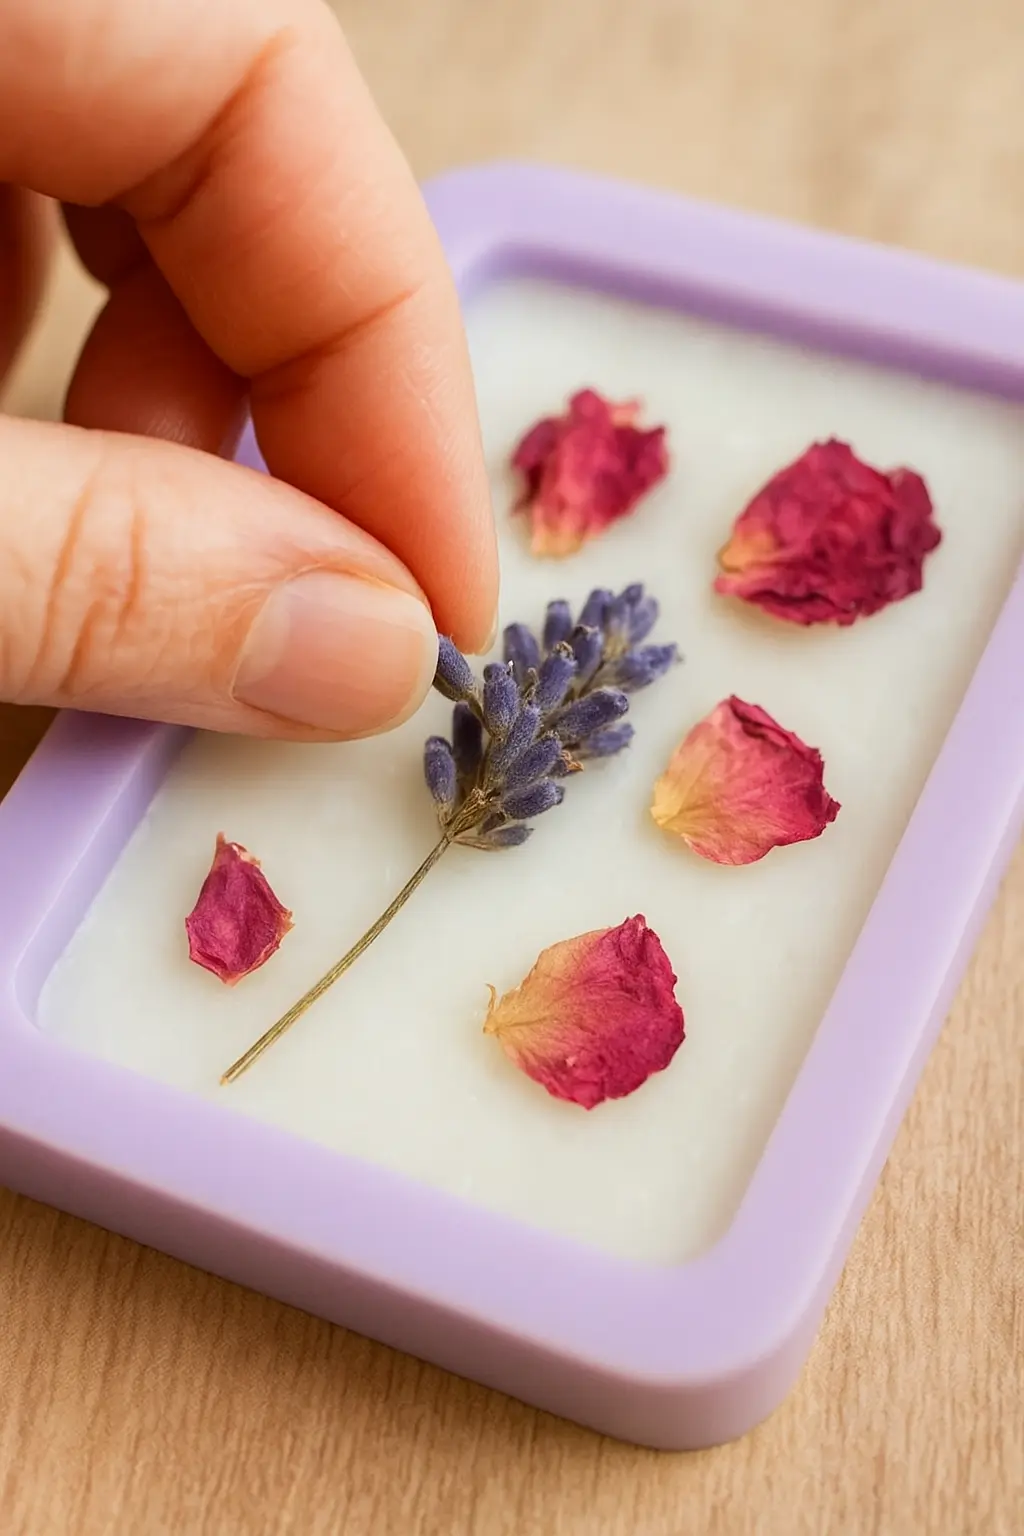
How to fix it: Wait until the wax is slightly firm but still warm—like soft butter—then gently place your decorations on top. This way, they stay visible and neat. Also, some botanicals work better than others: lavender, rose petals, and dried citrus slices hold their colour well, while delicate blooms often turn brown. And remember—less is more.
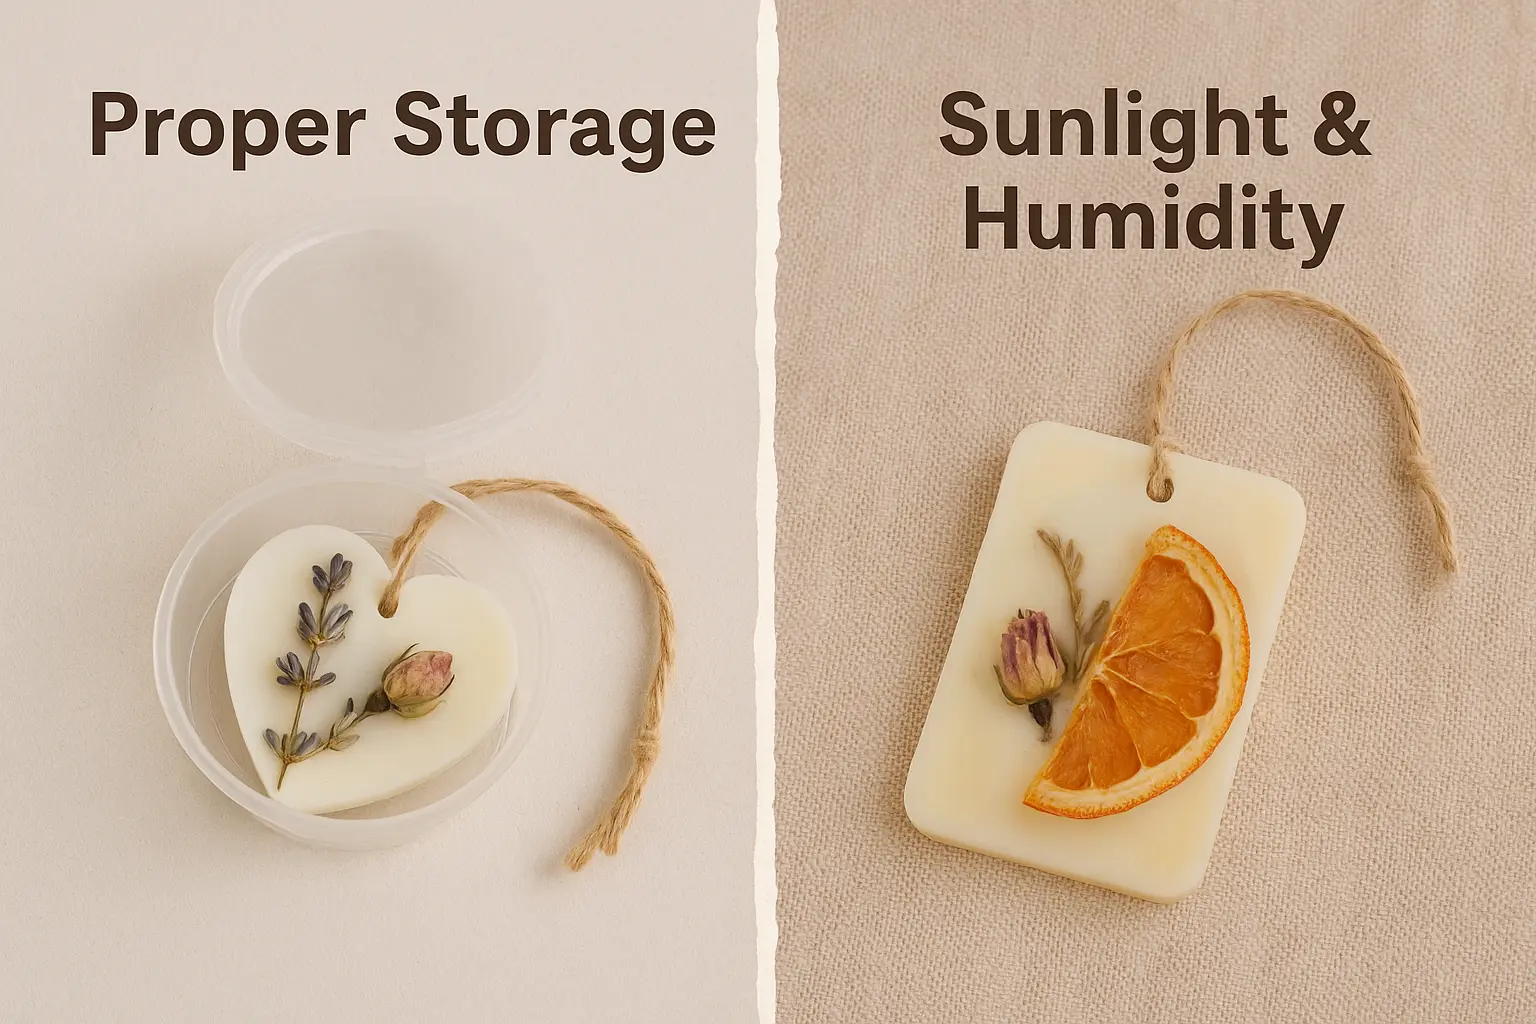
Mistake #5: Poor Storage After Making
You’ve worked so hard on your wax sachets—don’t let poor storage ruin them! Leaving sachets out in the open, near sunlight, or in humid conditions can fade the colours and weaken the fragrance.
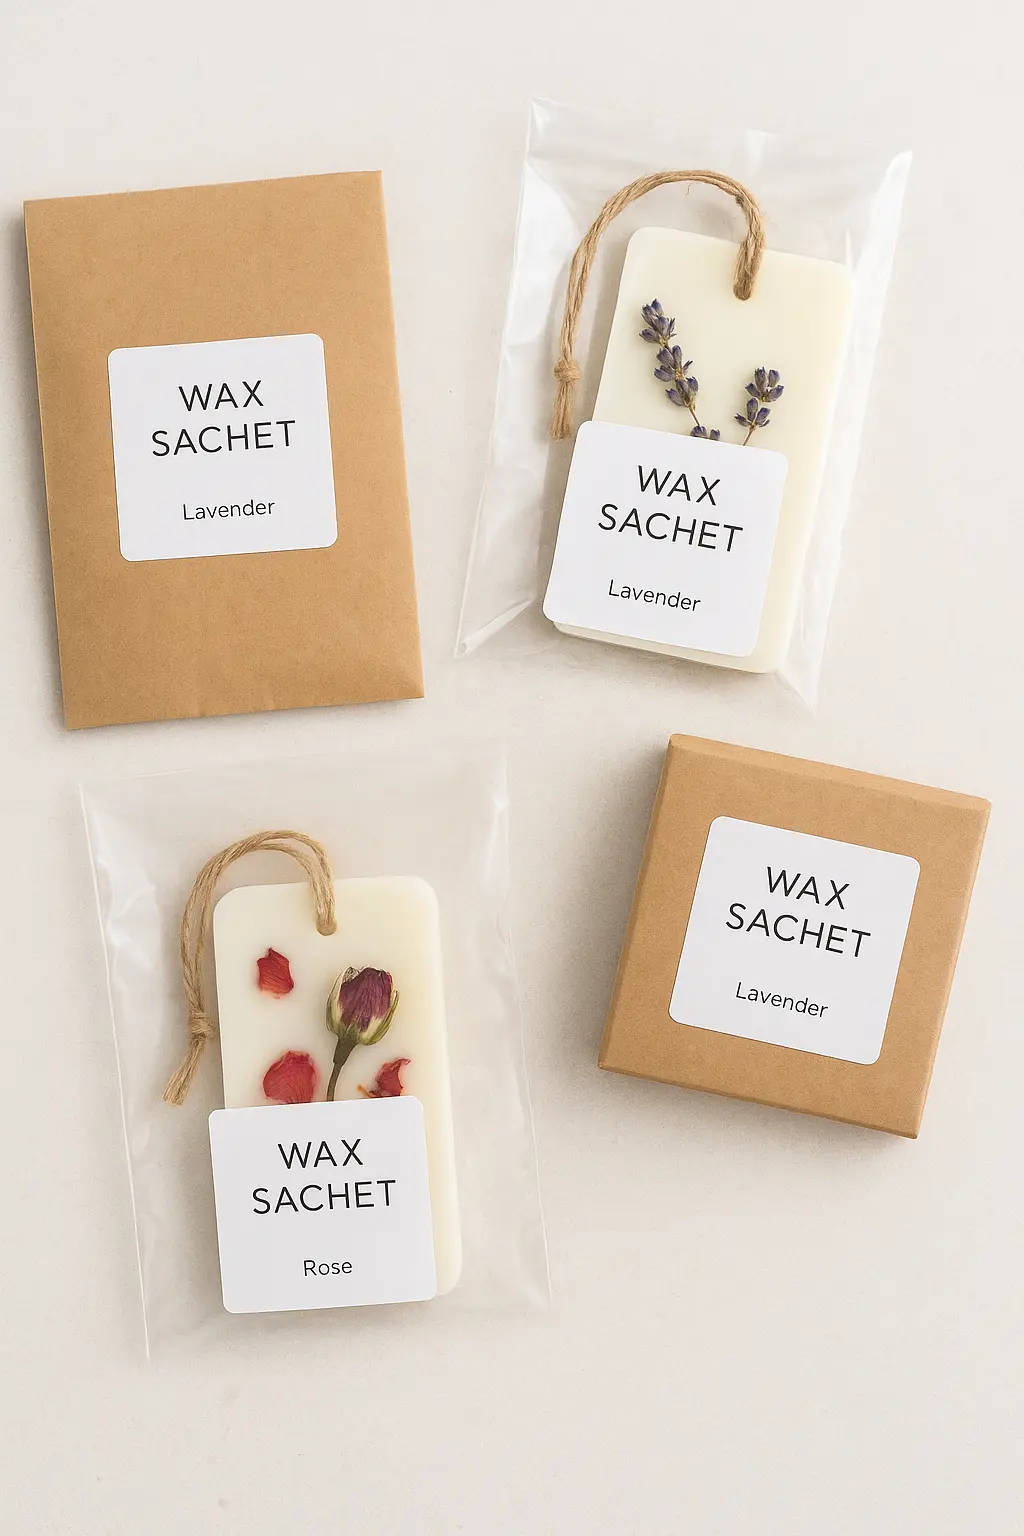
How to fix it: Store your finished sachets in airtight bags or boxes until you’re ready to use or gift them. I also like to label mine with the fragrance name and date—it’s a small step that makes a big difference in keeping track of freshness.
Mistake #6: Ignoring Safety Basics
This isn’t talked about enough, but wax work always needs a safety-first mindset. Overheating wax can reach its flashpoint, which is dangerous.

How to fix it: Always melt wax using the double boiler method, not direct heat. Keep a thermometer handy to monitor temperature, and never leave hot wax unattended. And remember, wax sachets are for fragrance only—they’re not meant to be burned like candles.
Mistake #7: Forgetting Climate and Environment
Depending on where you live, weather can affect your results. In hot or humid places, sachets may sweat or lose fragrance faster.
How to fix it: In warm climates, store sachets in cooler, shaded areas. In damp weather, keep them in airtight packaging until use. These small tweaks help them last longer.
Summary Table: Wax Sachet Making Mistakes & Fixes
| Problem | How to Fix It | Actionable Tip / Advice |
| Using the wrong wax | Choose soy wax for smooth finish & fragrance hold | Test small batches first to compare results |
| Too much or too little fragrance | Stick to 6–8% fragrance load | Add fragrance at 65–70°C for best scent retention |
| Rushing cooling & setting | Let sachets cool slowly at room temperature | Be patient—avoid fridge or fan cooling |
| Messy decoration placement | Add botanicals when wax is semi-set | Less is more—avoid overcrowding |
| Poor storage after making | Store in airtight bags or boxes, away from sun | Label with fragrance + date to track freshness |
| Ignoring safety basics | Melt wax using a double boiler, never direct heat | Use a thermometer, never leave hot wax unattended |
| Climate issues (sweating, fading) | Keep sachets in cool, dry storage | Avoid humid rooms or direct sunlight |
| Short lifespan | Expect 2–3 months of fragrance | Refresh by sealing sachet in an airtight jar overnight |
How Long Do Wax Sachets Last?
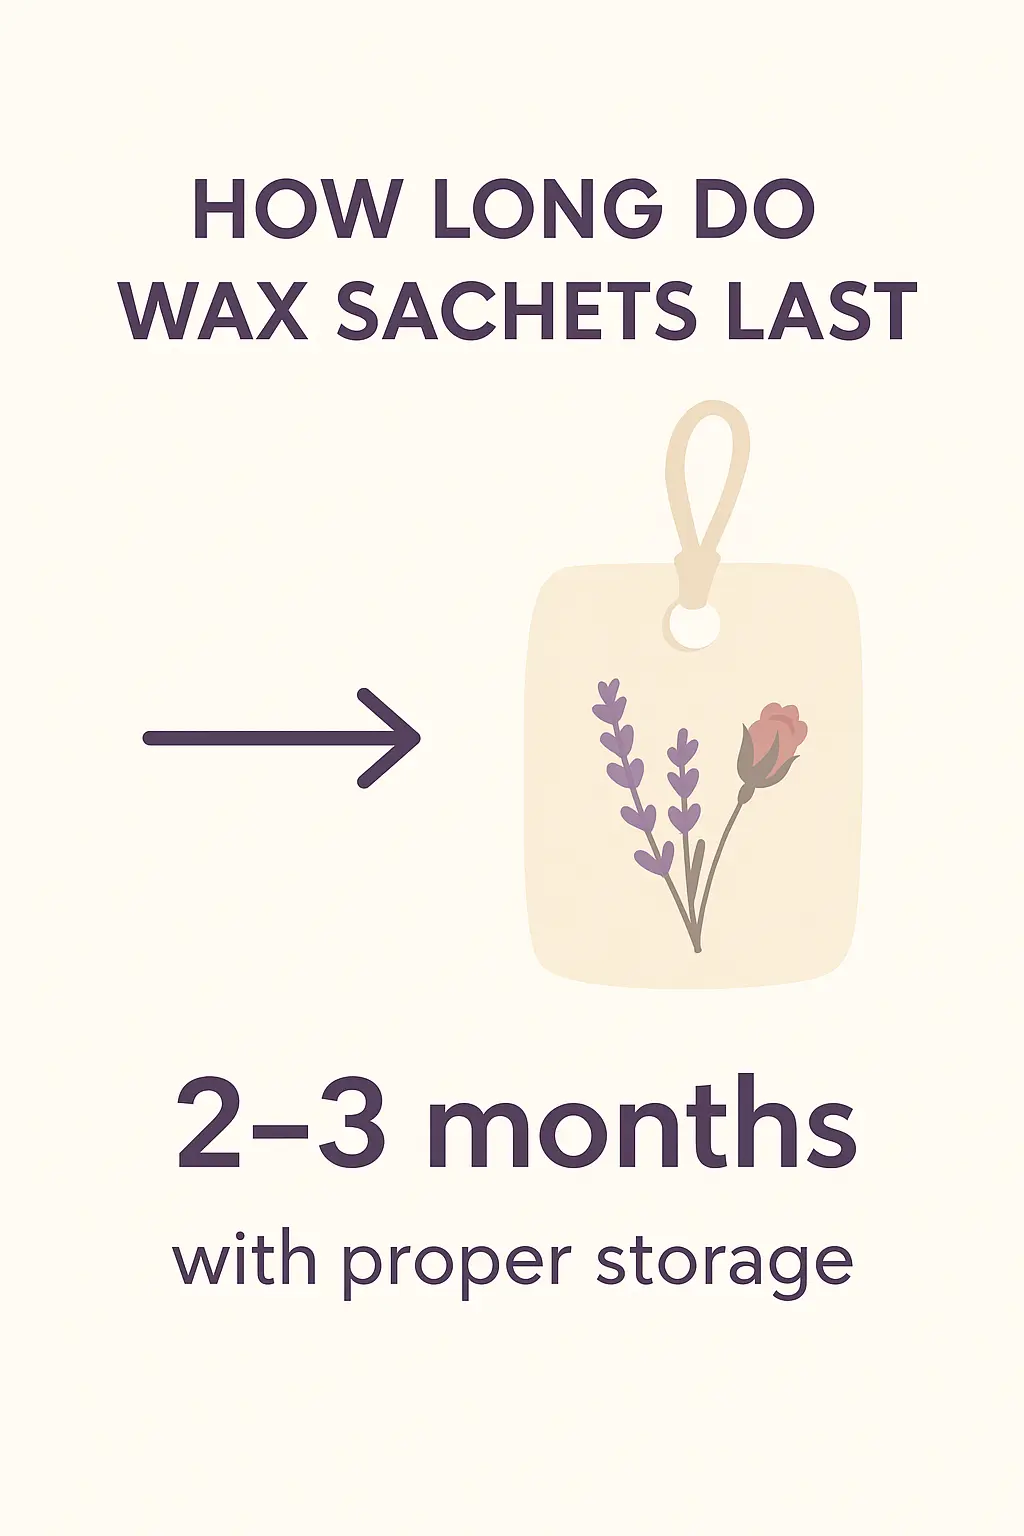
One question I get often is: “How long do wax sachets last?” On average, a well-made soy wax sachet will keep its fragrance for about 2–3 months. If the scent feels faint, place it in an airtight container for a day or two—it can sometimes refresh itself. Once the fragrance is gone, you can even repurpose the wax in a drawer as a mild freshener.
Bonus Tip: Don’t Forget to Enjoy the Process
This isn’t a technical mistake, but I think it’s the most common one. Many people get caught up in making the “perfect” wax sachet and forget that the process itself is meant to be enjoyable.
Wax sachet making is a calming, creative activity. Even if your first few don’t turn out exactly how you hoped, each one is a step forward. Embrace the little imperfections—they give your handmade pieces character.
DIY vs. Store-Bought Wax Sachets
I love making wax sachets at home, and I encourage everyone to try. It’s fun, creative, and deeply satisfying. But I also know some people don’t have the time or patience for testing and troubleshooting. That’s where handcrafted sachets from small businesses like Candle Kin come in. You get the beauty and fragrance without trial and error. Both have their place—it just depends on what works best for you.
Quick FAQs on Wax Sachet Making Mistakes
Why does my wax sachet crack?
Usually because the wax cooled too quickly or was poured at too low a temperature. Let it cool at room temperature to avoid this.
Can I reuse old candle wax to make sachets?
Technically yes, but the fragrance won’t be strong, and the finish may not look great. Fresh soy wax gives better results.
What’s the best temperature to pour wax sachets?
For soy wax, around 60–65°C works well. Hotter pours can damage fragrance and decorations.
Do wax sachets melt in heat?
They can soften in very hot weather. That’s why storing them in cool, shaded places is important.
Final Thoughts
Like any craft, wax sachet making takes practice. By avoiding these wax sachet making mistakes, you’ll be on your way to creating sachets that not only look pretty but also last long and smell amazing.
If you’d rather skip the trial and error and enjoy ready-made sachets, I handcraft each one with love and care at Candle Kin.